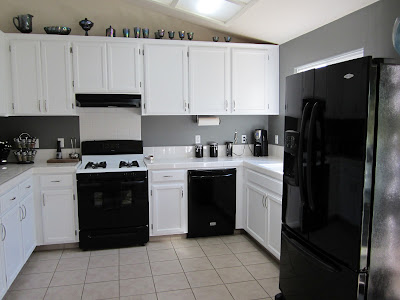
So in order to make it fit that cabinet over the hood had to go. Luckily the venting to the outside was way at the top of it so we had room to work. I figured if John could retrofit some cabinet doors, so could Clint.
First step, demo.
The worst part was removing the tile back splash. It went up so far that we had to remove a couple rows to get the microwave flush against that wall.
You know how on all the home improvement shows, they just tap the sides of the tile and they all pop out? Well holy mother that did not happen for us. That tile was stuck on their for the long haul. I ended up having to just rip out the cement board it was attached to. Not fun.
We also removed the doors and bottom of the cabinet and we were on the way.
Poor Clint was up until 4am installing a new piece of drywall and a new bottom for the cabinet. That boy won't give up until he's done. He was so proud he even took a picture (even though I would wake up and see it 3 hours later.)
A new electrical outlet and some wall brackets later, the microwave was in! (Clint just loves the way I take hours and hours of frustrating work and condense it into one sentence, lol)
Just like John did, Clint was able to cut out a chunk of the doors to shrink them down for re mounting. Now you would never know it wasn't originally built this way!
FUN FACT: I forgot to take pictures of the completed doors before we started on the next big kitchen project. So, I can't show a completed picture with the new doors. Oopsie!
It's cool, I will write up the post(s) about the next project and get those up for the entire kitchen reveal!


No comments:
Post a Comment